Monday, July 18, 2011

Feet maintenance on the trail

Feet can be the most annoying and painful part of your body after walking for a while. While the problem is mostly blisters, which rarely cause any permanent problems, there are real dangers too, for example a condition known as Stress fracture. So, get to know your feet, and if they really are killing you, dont be a dumbass and "tough it up".

Here's a couple of things Ive learned.

1. Obvious, yet often overlooked: stop and check your feet from time to time. When your tired, and dont feel any obvious hot spots on your feet, it's easy to just keep on going. Then, after you stop and rest for 15 minutes, you realize you have a huge blister developing. The thing is, often hotspots cannot be felt while walking, until its too late. So, take a break, get your shoes and socks off, check your feet visually and let them rest. Massage your feet and give them a good slap or two, to get the blood flowing.

2. Cotton socks. "Cotton kills", at least my feet they do. I've actually had blisters from a 5 mile evening walk with the best shoes I own, just because it was hot enough for my feet to get sweaty and I had cheap cotton "tennis" -socks on. So, get good socks, and try them out before going on a hike!

3. Layering socks. There are socks that are specially designed for layering up, but the cheap way is to buy womens angle-lenght socks. You know, those that are made from the same strechy material as pantyhoses. I usually have a pair of those in my backpack just in case. Ive noticed that sometimes just a pair of thin hiking socks is perfect and then another day it might be raining hard and I need to add a pair of womens socks to take some of the friction off. Anyway, having a pair will give you more options with the cost of 2 eurs and a few extra grams on your backpack. Also, the socks in question often offer a cheap laugh at the camp fire.

4. Blister plasters (=bandages). I dunno who invented these first, but the person responsible should get the Nobel price of hiking equipment. I've used the Compeed brand. What the blister plaster (damn, that sounds like a Mad Max villain) does is it covers the blister with a slippery, skin-like layer, eases the pain almost immediately, and stays on for days and days, minimizing further friction and actually healing the blister while you walk. These little things can save your trip. Highly recommended!

5. Shoes. What can I say? Some say that shoes are the most important piece of hiking gear, and I cant really argue with that. Pick 'em carefully, and dont take a pair of brand new shoes to a hike. Wear them in with miles and miles of all kinds of terrain.

Feet maintenance: after a long walk its nice to walk barefeet in the camp,
to let the feet breathe. When your feet are wet and wrinkly,
they might end up looking a bit weird, though

Pics from random hikes

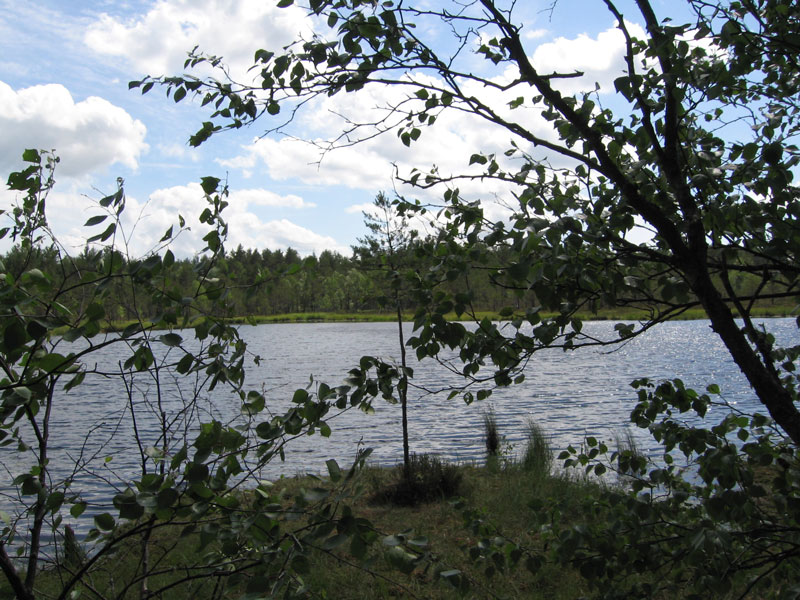
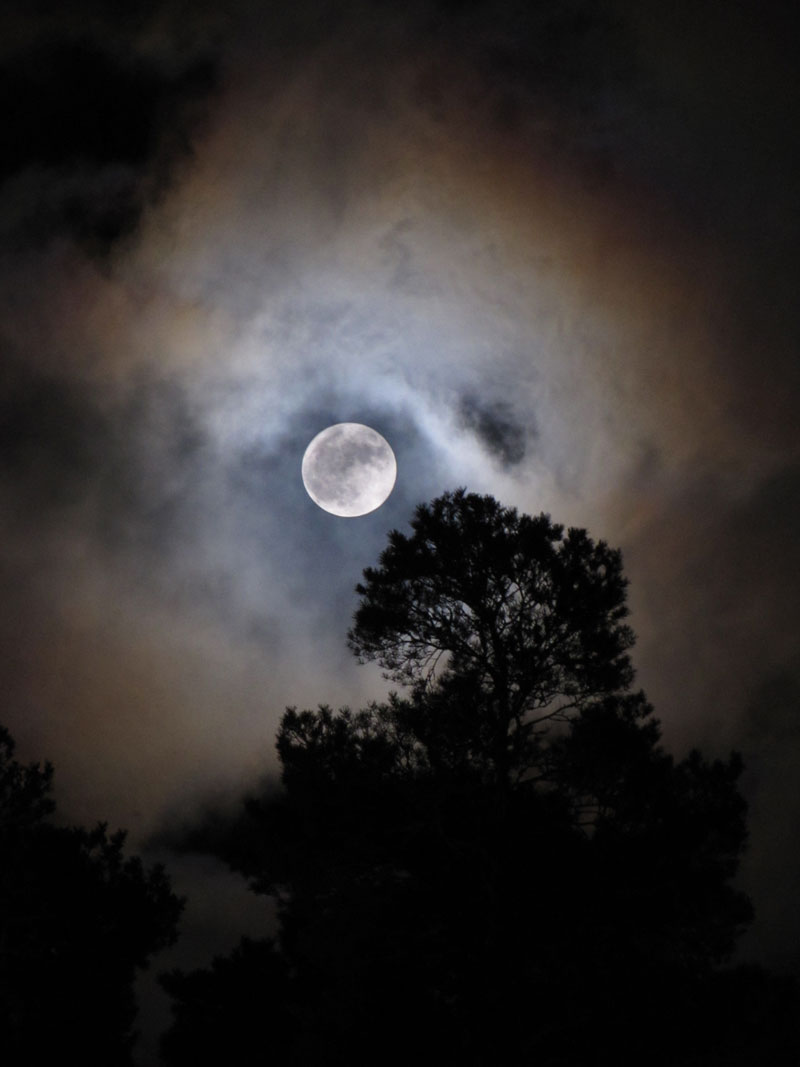
Some pics from past hikes. Not so much gear or knife shots here, more wildlife and landscapes :)

Shots from home 1. Taken a few miles from where I live

Shots from home 2

Sun and moon 1

Sun and moon 2. (Kuusamo, Finland)

Adder... one of the few dangerous animals of southern Finland 

Reindeer. One of the not-so-dangerous animals of northern Finland.
(Kuusamo, Finland)

Reindeer skull (Kuusamo, Finland)

Wild edibles. Lingonberries and chantarelles

Wild edible with a deadly twist.
Korvasieni, or Gyromitra esculenta is deadly poisonous when prepared  incorrectly.

Damn sheeple!
On some of the islands of Turku Archipelago there are wild herding  sheep.
While not dangerous, these guys are used to humans and can be a little too nosey.
So, best not to leave your back untended

Two ways of crossing swamps 1:
During winter its easiest to walk on frozen swamp ditches.
That is, as long as they really are frozen... 

Two ways of crossing swamps 2:
Summertime its best to stay on the "pitkospuut".
Some of the swamps are basically unaccesible, and potentially dangerous places.
When on "pitkospuut", unfasten your backpack waist strap, just in case.

Firesteel + Tupasvilla (Hare's-tail Cottongrass), works just as well as cotton balls.

Monday, July 11, 2011

1st Puukko

Ive always wanted to make a puukko; forge, harden, heat treat and grind the blade and make the handle and sheath from scratch. Ive read a ton of books about said issues, but a few years ago I got a rare opportunity to work under the supervision of a professional puukko smith (said smith is nowadays one of the four "puukko-masters" in Finland).

I figured there might be a lot to learn about this topic, but still I was surprised how much knowledge and skill goes into making a traditional puukko. A knife like this looks simple, but it's actually far from it. Almost all factory knives, and even most of the handmade custom knives are not forged, they're simply grinded or stamped from a flat piece of metal. This is true with most puukkos too. Forging however isn't important just because of tradition, it changes the structure of the steel, and is essential for a good blade for this type of knife. For a professional, making a puukko takes about 12 hours. For me, it was more like 30-50 hrs, but it was so intresting and fun, that the process could hardly be called "work".

For purely traditional values, I made the handle mostly out of curly birch. However, being this is my  very first puukko, I just had to add something extra to the handles. There was plenty of exotic woods to choose from, but I couldnt bring myself into using some psychedelic Amazonian neon-wood for a puukko, so I chose red rose wood (it actually grows in Finland too). The slabs between the pieces are birch bark. The blade is forged from 0,8% carbon steel, and the ferrules are grinded from brass. The shape of the knife is as traditional as possible; the style is mostly copied from Tommi-puukko, but of course I measured it to fit my own hand.

Here's a couple of pics from different stages of the process.

After some ~20 hours of training and work, I had two nice blades, ready to go


Fitting the ferrules was a lot of work; there should be no gap between
the blade and the brass

Assembling the handle.

Almost there...

Finally!


Overall lenght ~7", the blade being a little under 3,5". The handle was treated with danish oil and bee wax.

The sheath was surprisingly easy to do, but it still took me some 4-5 hours to sew, decorate and dye it. The sheath has a wooden liner in it for shape and safety. The overall design is from tommi-puukkos sheath.


Making this knife was a lot of fun and extremely educational knife-wise. If you're ever given the opportunity to make a knife of any kind with professional supervision, I strongy recommend it!


Spyderco Delica 4

The very first quality folder I purchased was a first generation Spyderco Delica. I think it was 'round -96 or something. It's the one with fixed pocket clip, AUS-8 blade, full serrations etc. I put that little thing trough a lot; no surprise I broke the tip off (and reprofiled it with a diamond file). The handle is all scratched, and the blade has been sharpened numerous times... still that little knife cuts like no other.

Among friends (from top to bottom):
1. Byrd Raven, 2. Crickett, 3. 4th gen. FFG, 4. 4th gen combo edge,
 5. orginal Clipit Delica, and 6. the Harpy

A couple of years back I bought a Delica 4 with a partially serrated edge. During these 4 generations, the Delica has transformed from a featherweight blade into a sturdier knife. Almost too sturdy, one might say. The fit and finish of this knife are amazing, it feels like there's a ball bearing in the knife joint. The black paintet pocket clip shows scratches, and loosens up from time to time, but it works great, and is reversible to all four corners of the knife.

Brand new vs. 2 years of use

A year ago I upgraded into a full flat grind Delica which in my opinion kinda takes the Delica back to the roots due to the noticable lighter weight. Though the knife is almost identical to the previous Gen 4, there were some differencies with the quality. Something that maybe only a knife nut would notice, but this newer Delica lacks the smoothes and finesse of the previous Spydies Ive owned, and the "Spydie hole" in the blade has sharped edges. The blade lock's thumb stud is sharper too, and harder to push. None of these issues are a "deal braker", but I do hope Spyderco is not about to lower their previosly near perfect quality control.


Other than these minor issues, the knife is great. After a year of use, the clip has loosen up a couple of times, and its scratched up, but the blade looks like new. Spyderco really knows how to make their VG10 into one of the finest pocket blade steels there is. The full flat grind is in my opinion the way the Delica is meant to be made; it cuts amazingly well. Sure, the thin blade is more brittle than a thicker one, but the clue is in the name: the knife is supposed to be used delica(tely), not as a prying bar. This in mind, I'm not sure if the skeletonized metal liners are actually needed in the handle; the blade would snap long before even a plain FRN (Fiberglass reinforced nylon) handle would brake.

Worth of mentioning: the bright color of the handle is a big plus for me. Sure, the foliage green is cool and tactical and all that, but for a user-knife, I really want the knife to rather be visible than cool.

In conclusion: an excellent, fast and lighweight knife for a reasonable price.

Wednesday, June 29, 2011

Hike at the Finnish eastern border, summer 2011

Our "big" hike this summer was done a week before midsummer. The location we chose was somewhat a compromise between the flatlands where we live and the fjells of Lapland - the eastern border between Finland and Russia. There is a marked hiking path spanning 160 kilometers, called the "Eastern border trail", or "Itärajan reitti" in Finnish. They have a website in Finnish, found here. We hiked a small section of this trail, doing only small distances.

Our priorities for this hike were more on skills and techniques, as we wanted to have some practice for our upcoming hiking skills contest. Thus we had a few goals:

  • All campfires were to be done with a firesteel only
  • Finding/creating tinder from the woods
  • Practice the "figure 4"-trap
  • Learn to make a fire with a firebow/drill
  • Test all new gear to get comfortable with it
  • Gather some edibles from the forest & try to catch fish
  • Use ranger beads to approximate walked distances

As a shelter I only had a 2x3 meter light tarp (the noisy cheap stuff from hardware stores, 5 euros worth) and Adu had his Halti Cavity tent. Basically we could have camped almost anywhere along the trail (based on the Finnish law of everyman's rights), but since you need the landowner's permission to make a fire we decided to camp beside the marked and maintained firepits and wooden shelters ("laavu"). This came with the cost of some of the wilderness feeling, but with the comforts of a cooking fire, dry firewood, benches and easy shelter.

The weather conditions were typical Finnish midsummer - some rain, some sunshine. More of the rain this time, though. The temperatures were somewhere between 16 and 22 degrees centigrade in daytime and around 10 degrees centigrade at night.

Our first walk was just a few kilometers to get away from the car. We drove the entire day (~9 hrs) to get to the location, and left the car about an hour before midnight. A short walk later we got to our first campsite. It was dry, we put up our shelters, had a late supper and stayed up most of the night sitting around the campfire, enjoying the fine weather, lake view and a little brandy.

A view on the lake. The orange glow on the right is the campsite.


The "laavu" shelter.

Our sleeping shelters.
On day two we struck camp after breakfast, and it soon started to rain. This soon became the wettest and most miserable day on the whole hike. As the trail proceeded through several swamps and dense forest, we were soon wet from head to toe, even with rain gear on. The backpacks stayed mostly dry, though, and we had made extra care that the sleeping bags and extra clothing were packed waterproof. Eventually we came to our next campsite, another wooden "laavu". This one was located on the western shore of a long lake. The wind gushed strongly from the east, blowing straight inside the shelter. It rained constantly, and we decided to stay the night inside the laavu. We arranged my tarp as a wind shelter on the doorway of the laavu - this improved the shelter quite a bit.  My self-made wood burning stove did not function as I had hoped (although it performed nicely when I tested it), and we ended up cooking almost all of our food on the campfire instead. We spent most of the day and night just sitting inside the laavu, drinking tea, waiting for the rain to stop.

A dish best served hot. Pasta with some soy grits and spices.
The third day dawned wet and cold. We packed our backpacks inside the shelter and walked on. When nearing our next campsite, the rain stopped and the sun started to peek among the clouds. We decided to stop on another shelter to dry off our gear before continuing to the actual campsite. Some hot food, fire and drying clothes quickly got our spirits up.

A lake we passed by. Rain, rain, rain.

A typical swamp. We crossed lots of these, walking on wooden boards, "pitkospuut".

Drying off by the campfire.
We continued to the actual campsite by a river. The weather improved, we got lots of sunshine and we had a good chance to get our gear dry. We slept in our own shelters again, as the hard wooden planks suck when all you have is a foam pad!

I tried to make fire with a fire drill. Unsuccesful, I only got smoke. I used birch as the drill and pine as the board. We think my bow was too taut, since it was very hard to get it working properly.

The river.
The next day we hiked on. It was dry and warm, and we walked pretty fast. The terrain was mostly dense woods and swamps, but an occasional river and hill made the hike more interesting. We arrived at our next camping spot with perfect timing. Two minutes after we got our packs off, there was a torrential downpour that lasted for a few minutes. The rain soon turned into a drizzle that lasted a few hours. We had some good food, and drank a lot of tea. We also tested some natural drinks, pine-needle tea and spruce shoots tea (the light green year-growths of a spruce tree). These were delicious, and we'll be making more of these on our future hikes. Harming the trees without landowner's permission is illegal however, so it's hard work to find a freshly fallen branch to use for these. Lucky for us, there was much wind and thus a lot of fallen branches.

When the rain ceased, we tried our hands on some trap-making, practicing for our upcoming hiking skills contest. It did not take long for both of us to make a working "figure 4" trap, but then again, we only used light firewood as a load. It would probably be much harder with an actual heavy load, such as a stone or a log.

I also fished a bit, caught several small perches (perca fluviatilis) and used their eyes as bait. I soon caught a "bigger" one, that we cooked on a stick by the campfire and ate. At least we got a taste of fish, though not enough to fill a stomach. I also cooked a large "penny bun" mushroom (boletus pinophilus) I found. Delicious!

My figure 4 trap.

Adu's figure 4 trap.

Fishing.

Food. :)

The lake at night.

The next day we took off for the last camping spot. I walked a few kilometers barefoot, just for the hell of it, but as expected, my feet soon got tender and the going got slow. So, on with the running shoes. The trail went on some dirt roads, which killed both the wilderness-feeling and our feet. At least the weather was good. This hike was short, and we were soon at our last campsite.

This site did not have any shelter, and as the weather was looking to get worse, we pinned my tarp as a cooking shelter between some trees next to the firepit. The rain did not come despite some thunder, but we decided to keep our tarp-shelter anyway. I decided to sleep under a spruce tree, using a space-blanket as a groundcloth and my actual groundcloth as rain shelter. Worked like a charm, even when it rained a bit during the night. You could have walked right by the spruce and not spot my sleeping spot. Stealth camping! :)

Tarp as a rain shelter.

My stealth camping spot. Nice and dry, all night long.

Adu's last tent spot.

The last morning was wet, as it had rained at night. We had a hasty breakfast and headed to the parking spot where my car was waiting for us. A fun hike, though not much distance covered. :)

Tuesday, June 28, 2011

Briefly about Gore-tex shoes...

On our last hike, I had the chance to compare my Gore-tex shoes to my friends trail running shoes. During heavy rain having Gore-tex meant about 30 minutes worth of dry(ish) feet, after which the shoes were completely soaked. But, without the heavy rain while hiking through wetlands where the trail running shoes were soaked within minutes, Gore-tex did keep my feet relatively dry for hours.

Gore-tex seemed to be a bit more time consuming to dry, but a long evening beside a camp fire did dry them up nicely.

So in a nutshell; if it rains enough, your feet will be wet, Gore-tex or no. But, in the most typical case, where the ground is wet but it's not raining heavily, Gore-tex can keep your feet dry for hours.

Friday, June 3, 2011

Making a tarp - "Erätoveri"

A few years back I decided to make my first actual tarp, and after some research ended up using the design of Finnish boyscouts' tarp, the Erätoveri. The tarp is square, measured 3x3 meters and has grommets in the corners plus three grommets in between on every side. Also, some grommets are also inserted in the center, but only on the inside. This was meant to help using a tensioned line while pitching, but I've actually never needed them.

For the fabric I used the only decent fabric available locally at that point, and that is "Autex". Autex is nylon with polyrethane coating with aluminized backside, weighting around 80g/m2. Not ripstop, but very waterproof and definitely not breathable. It cost me 5.95 euros per meter, 1.5 meters wide, so I needed 6 meters. This cost me about 36 euros.

First thing to do was to cut the six meter piece of cloth to two pieces, 1.5x3 meters each. Then I sew the pieces together with a flat-felled seam, creating a 3x3 meter square.

Then I measured and marked the locations for the grommets, and cut some reinforcement pieces. I used fabric pieces salvaged from an old broken-down backpack. I used pins and tape to hold the reinforcement pieces in place, and sew them on the fabric.

Next step was to sew the sides. I used only one pass with the sewing machine, with the fabric edge folded twice on itself to prevent fraying. Then I cut small cross-shaped slits into the fabrics and inserted the grommets.
Reinforcement and the grommet.

I did not use any kind of sealant on the middle seam. There is an ongoing debate on this, and it all boils down to the materials that are used. If one uses all-synthetic braid when sewing, the seam is supposedly stronger and lasts longer, but needs to be sealed with a seam sealant or tape. However, if one uses 100% cotton braid like I did, the cotton absorbs some water and swells, sealing the holes in the fabric all by itself. The downside is the supposed decomposing of the cotton thread. However, after three years of use, the seams are still fine, and no fraying is visible. No leaks have been detected either.

The entire costs of the tarp came down to about 45 euros, including the fabric, braid and grommets. The finished tarp weights around 800g.

Pitched with five stakes and a small piece of cord.
Pitched wit five stakes, a walking stick and one cord.
Three stakes and a walking stick, low-tetra design.

Pitching in a -10 C weather in February.
Actual use as a two-person winter shelter. Worked nicely.